Model and beauty brand founder Hailey Bieber made “glazed donut skin” go viral after introducing the concept in 2021, and now her “glazed donut nails” have become the latest trend inspired by the confection. The star appeared at the Met Gala in May with a minimalist makeup look and shiny, sheer white nails — the so-called glazed donut nails — by LA-based nail artist Zola Ganzorigt, which have become one of the biggest nail trends of the year.
Bieber first brought glazed donut skin into the beauty vernacular after telling Harper’s Bazaar that her skin care routine involves looking like a glazed donut before she goes to bed. Since then, she launched Rhode, a new skin care line focused on supporting the skin barrier and giving smooth, glistening results that resemble a freshly glazed donut.
With glazed donut nails as the latest craze, we spoke to Ganzorigt about how to recreate the trend at home.
What are glazed donut nails?
Like glazed donut skin, glazed donut nails mimic the sweet treat they’re named after — particularly the slick and smooth layer of glaze that tops the donut. Bieber’s original glazed donut nails similarly boasted a sheer coating of OPI Gel Color in Funny Bunny polish topped with the OPI Chrome Effects in Tin Man Can for a shiny and glistening effect.
“Since it’s really neutral, minimalist and chic, I can definitely see that these nails will be around,” says Ganzorigt.
The nail artist also created several variations of the original sheer white look, including neon chrome and lavender chrome, but she’s currently loving the pink iteration. “My current favorite is the strawberry glazed donut nails, which is the sheer pink version,” Ganzorigt shares.
The products Ganzorigt used to create Bieber’s manicure (which she shared in a tutorial on TikTok) are only sold to professional nail technicians, but she says it’s easy to recreate the look at home with standard polish. Ahead, the nail artist tells us how to do your own glazed donut nail manicure, and we take a look at alternative methods that the internet has been loving.
5 steps for DIY glazed donut nails
Step 1: Prep the nails
Nail prep consists of cleaning the nails of old nail polish and dirt, as well as trimming and shaping the nails. Prepping your nail bed will help the polish last longer and get you closer to a salon-worthy manicure, too.
$9.99 at Amazon

$5.98 $4.99 at Amazon

Step 2: Apply the base coat
A base coat protects the nail from staining from color polish and will help extend the life of your manicure.
$10.79 at Amazon

Step 3: Apply the white polish
To get the creamy yet sheer glazed look, start with a thin layer of white, pale pink or nude nail polish.
$10.79 at Amazon

Step 4: Add the shimmer
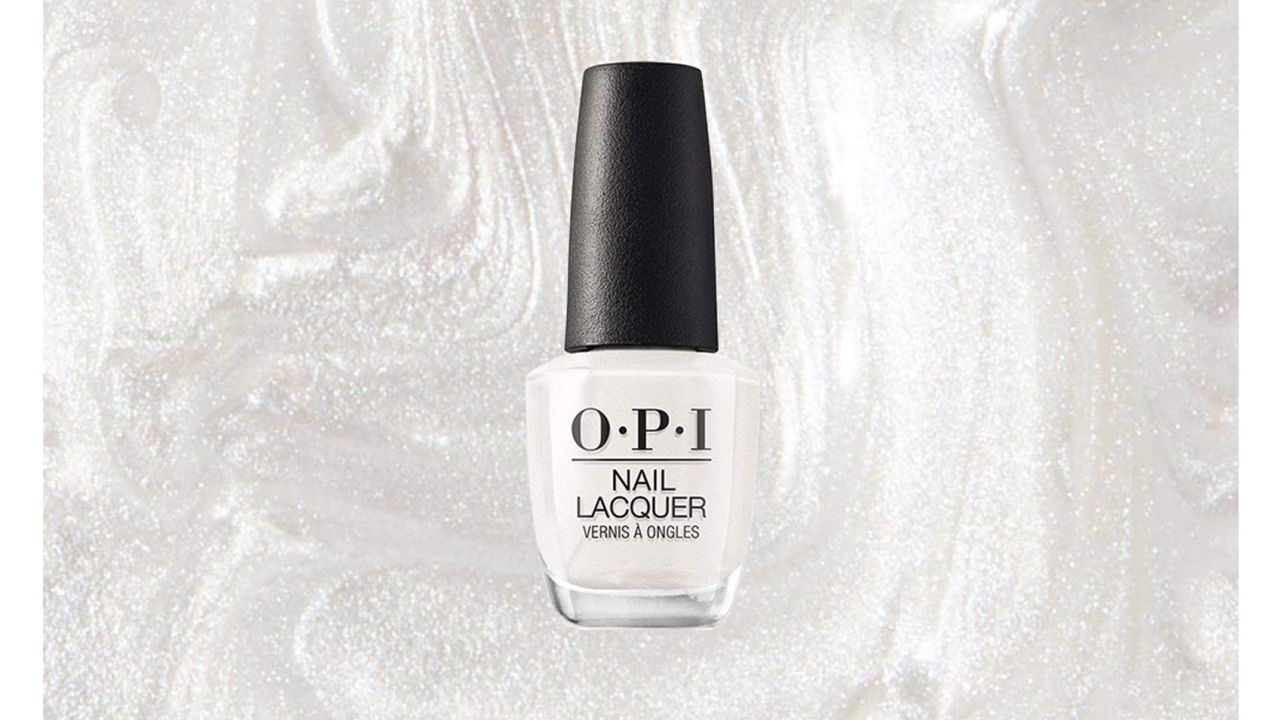
For the shiny, shimmery finish, Ganzorigt says to mix a pale pearlescent polish with a clear top coat.
$11.49 at Amazon

Step 5: Seal the manicure
To finish the manicure, paint on a chip-resistant top coat for long-lasting wear. Take the same top coat you used to mix with the Kyoto Pearl (make sure to wipe off the brush or use a clean one after mixing the polishes) and apply a thin coat to your nails.
4 other ways to get glazed donut nails
With regular polish:
$10 at Amazon

$8.99 at Target

$10 at Ulta

$12 $9.89 at Amazon

$7.25 at Amazon

With regular polish and chrome powder
$12.99 $9.99 at Amazon

With gel at home
$15.95 at LeChat

$17.95 at LeChat or $19.99 at Amazon

With one step
$9.99 $6.79 at Amazon


